What Actually Happens During a Kitchen Installation? (Step-by-Step Guide)
If you’ve never had a kitchen fitted before, it can feel like a bit of a mystery.
You know it’ll be noisy. You know your old kitchen will disappear. You know there’ll be dust and disruption. But what actually happens between “Day 1 rip-out” and “It’s finished”?
Understanding the process removes a lot of the stress. A proper kitchen installation isn’t chaos — it’s a structured sequence of steps, each building on the one before it.
Here’s what really happens.
Before installation day: the preparation phase
The smoothest installations are won before a single unit is fitted.
This stage includes:
- Final measurements and site checks
- Confirming the layout and appliance positions
- Checking access for deliveries
- Protecting floors and walkways
- Making sure services are correctly planned
From your side, you’ll usually need to:
- Empty all units completely
- Clear worktops
- Remove freestanding appliances
- Make space for tools and materials
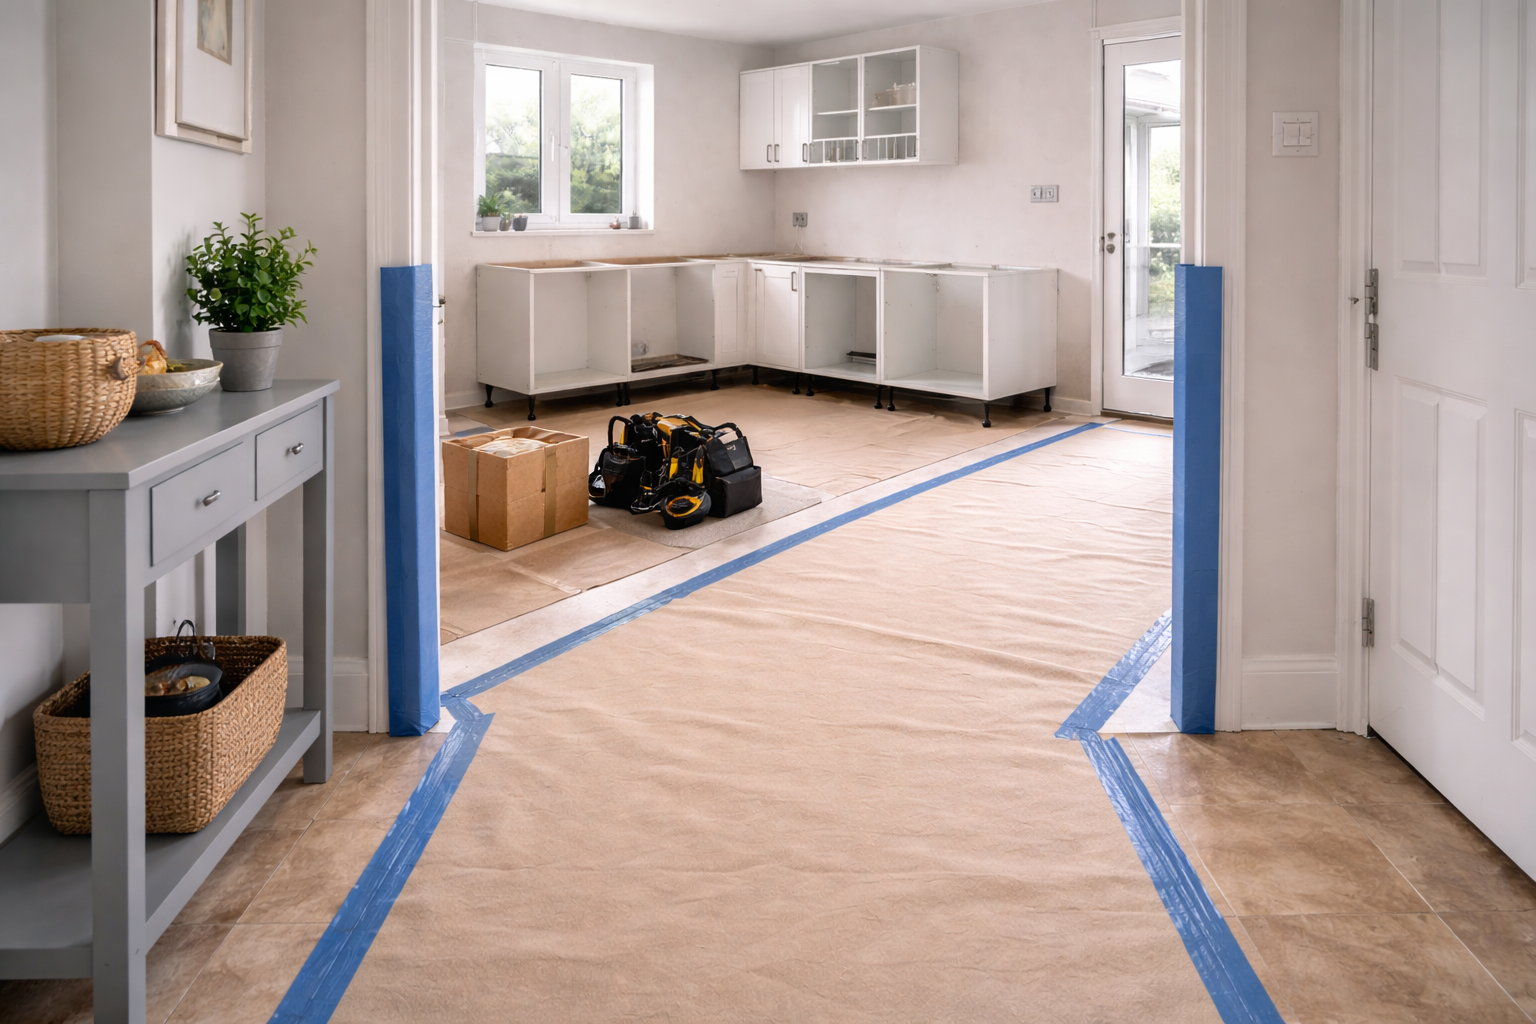
Good to know: Proper protection and prep isn’t “extra”. It’s how you keep the rest of the house liveable while the work gets done.
Day 1–2: rip-out and strip back
This is the part most people brace themselves for.
First, services are made safe. Gas, water and electrics are isolated properly before anything is removed. Then the old kitchen comes out: doors, units, worktops, appliances, and tiles if required.
Once everything is stripped back, the room is exposed. And this is where we sometimes find the unexpected.
Common surprises include:
- Uneven walls
- Poor previous plumbing
- Damaged plaster
- Floors that aren’t level
None of this is unusual. It’s just part of working in real homes. The key is addressing it properly rather than working around it.
First fix: the invisible work that matters most
This stage isn’t glamorous — but it’s arguably the most important.
“First fix” refers to the structural and service work that happens before cabinets go in. This can include moving sockets, installing new electrical feeds, altering plumbing routes, preparing walls, and levelling floors where necessary.
When this stage is done properly, everything that follows sits square, level and solid. When it’s rushed, problems show up years later.
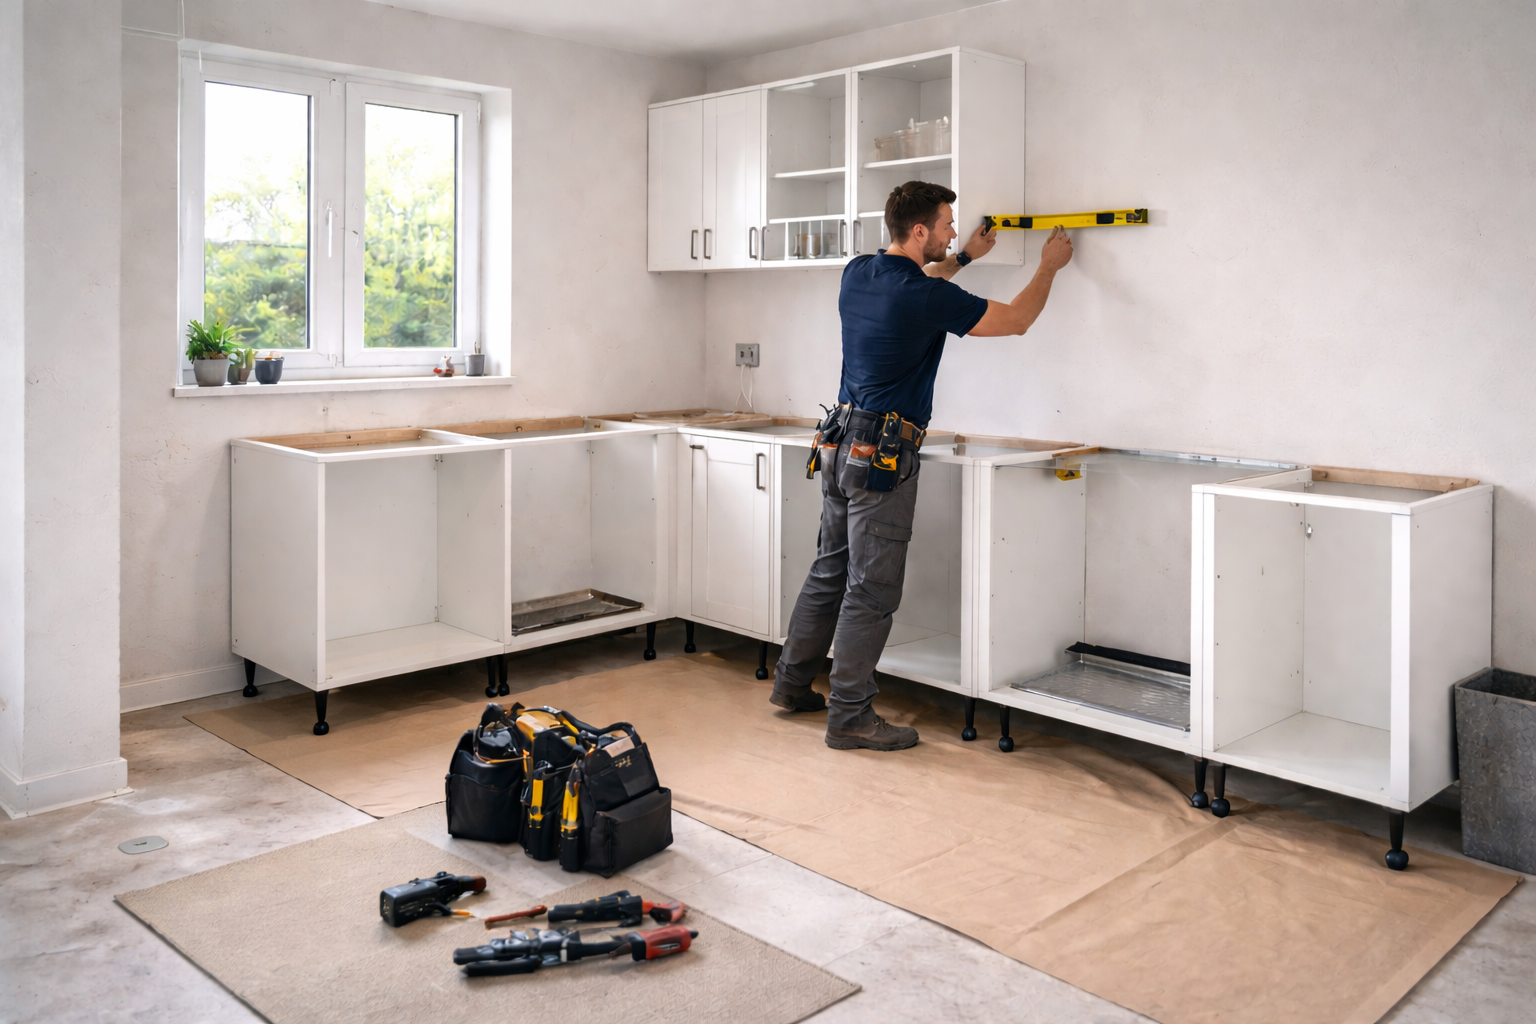
Cabinet installation
Now it starts looking like a kitchen again.
The room is carefully set out first. Levels are checked. Reference points are marked. Base units go in first, precisely levelled and fixed securely. Then wall units are installed, aligned carefully so doors sit clean and even.
A good installer is slightly obsessive at this stage — because even a few millimetres out can affect worktops, splashbacks and appliance fitting later.
Worktop installation
Worktops are fitted differently depending on the material.
- Laminate worktops are usually cut and fitted on site. Joints are carefully sealed to help prevent moisture getting in.
- Quartz or solid surface worktops are normally templated once base units are in, then manufactured off-site and installed on a return visit.
That gap between template and install is normal — not a delay. Worktop fitting is precision work, and proper sealing at joints and edges is critical for long-term durability.
Second fix and finishing
This is where everything comes together.
Appliances are installed and connected. Sinks and taps are fitted. Electrical sockets, lighting and switches are connected and tested. Silicone sealing is applied around worktops, sinks and splashbacks. Doors and drawers are adjusted so everything lines up properly.
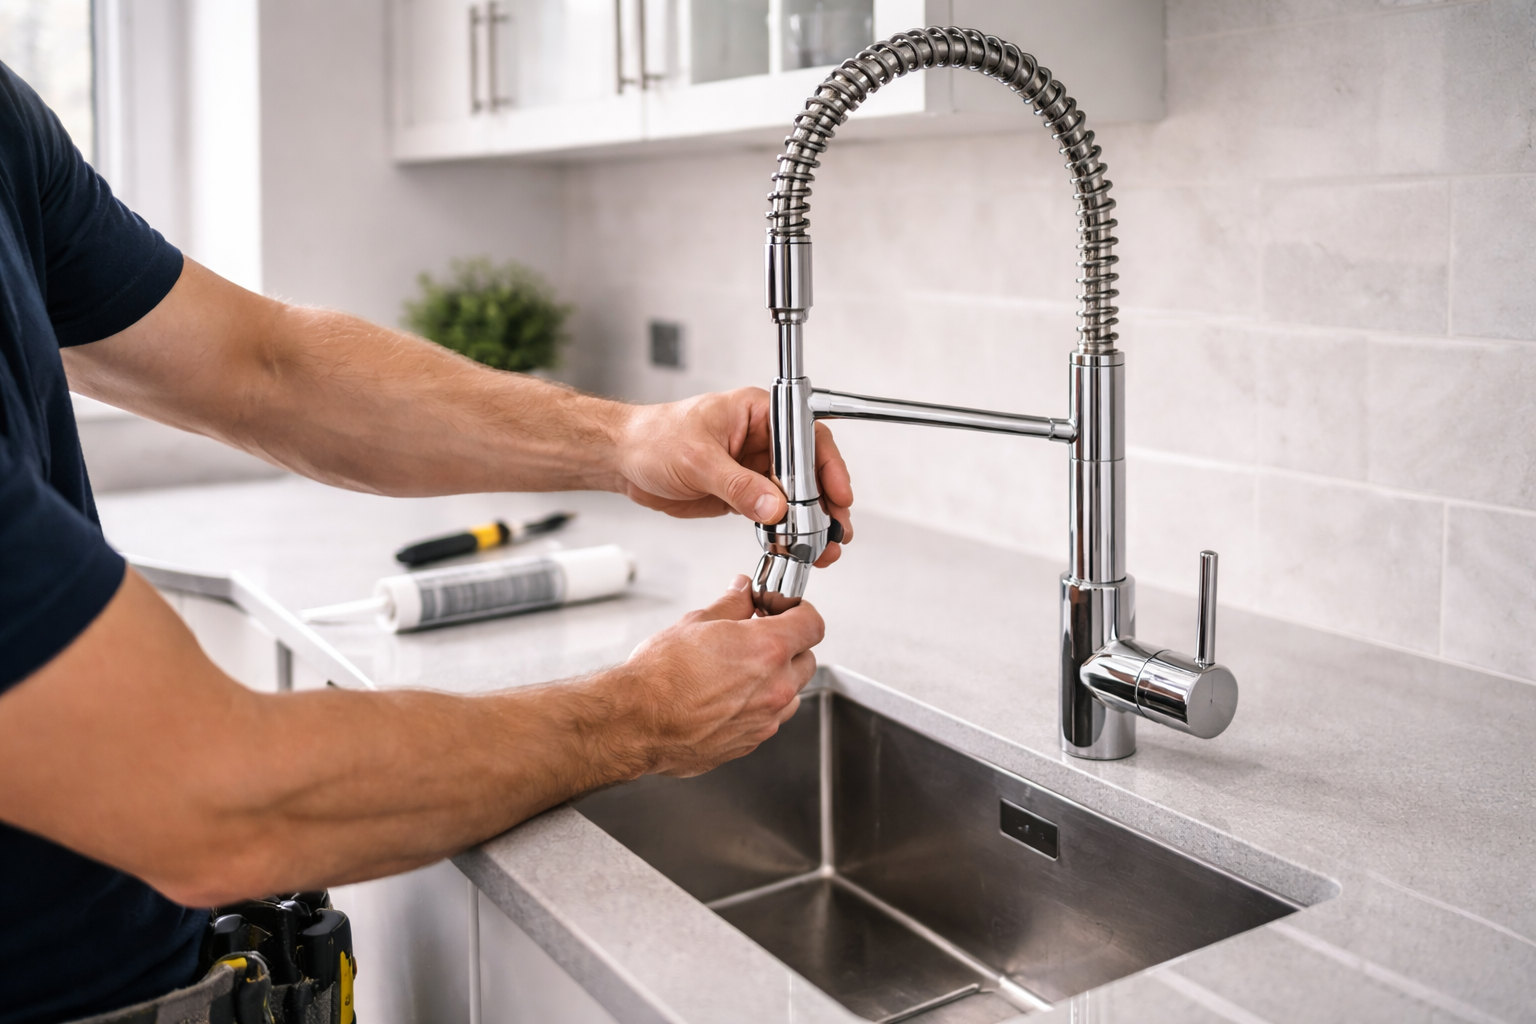
This stage takes patience. It’s not just about getting things working — it’s about getting them looking right.
Snagging and final checks
Before handover, everything should be checked:
- Are doors aligned?
- Do drawers glide smoothly?
- Are appliances functioning properly?
- Is silicone neat and complete?
- Is everything clean and free from dust?
A proper walkthrough matters. You should understand how your appliances work, where isolation points are, and what basic aftercare looks like. Installation isn’t finished when the tools go away. It’s finished when you’re comfortable using your new kitchen.
How long does it usually take?
Every kitchen is different, but as a general guide:
- A straightforward kitchen replacement: around 1–2 weeks
- Larger or more structural projects: longer
What can extend timelines?
- Plaster drying time
- Custom or stone worktops
- Electrical upgrades
- Unexpected repairs discovered during rip-out
Clear communication during these moments makes all the difference.
What you can expect from a good installer
Regardless of who you choose, certain standards should feel normal:
- Clear updates on progress
- Respect for your home
- Floors protected
- Daily tidy-ups
- Honest conversations if something unexpected appears
A kitchen installation is disruptive — there’s no pretending otherwise. But it shouldn’t feel chaotic. It should feel organised, controlled, and professional.
Final thoughts
Kitchen installation isn’t magic. It’s methodical: rip-out, first fix, cabinets, worktops, second fix, finishing.
It’s temporary disruption for a long-term result. With the right planning and the right team, it shouldn’t feel like your house is out of control. It should feel like steady progress towards something better.
A week or two of inconvenience is small compared to the years you’ll spend using the space. And when it’s done properly? You won’t think about the process again. You’ll just enjoy the kitchen.


